Now is a great time to show your contacts that you care about them without having to wait for a birthday or anniversary. Set up a free e-card campaign in your ActiveCampaign account to spread holiday cheer and brighten their days. In this post you’ll learn how to send date-based campaigns which can be used for holidays, birthdays, anniversaries, and annual email reminders.
The most common use for date-based campaigns are birthdays, emails, and annual reminders. If nothing else, wishing clients a “Happy Birthday!” or “Happy Anniversary!” to celebrate your time together is another personalized way you can pop into their inbox to remind them that you’re there (and ready for business).
And, now you can set up this automatic sending once and let it run itself in the background. If you’ve got an email account through us, you’ll be able to do this with your ActiveCampaign account.
All you need is a custom field and the actual date in your contact record. Check out this step-by-step guide for creating a date-based automatic email campaign.
You need to first create a custom field and then you can move on to creating the automatic campaign.
Creating a Custom Field
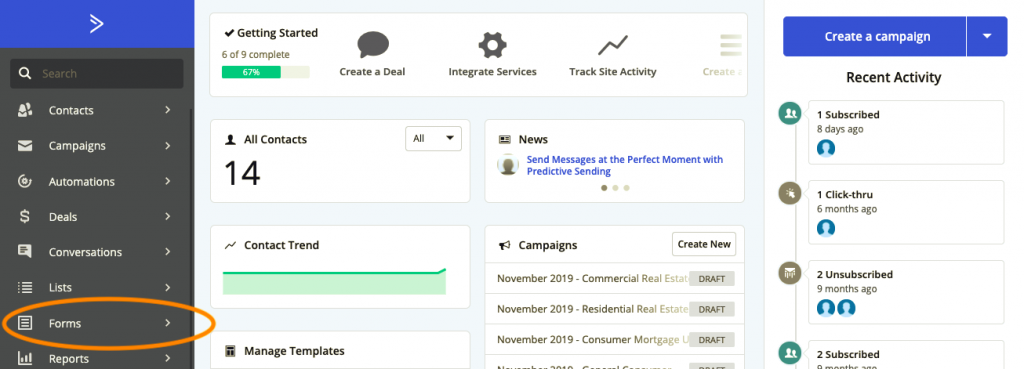
1) First, you’ll log into your ActiveCampaign account and from the main dashboard, click on the “Form” icon on the left side, toward the bottom.
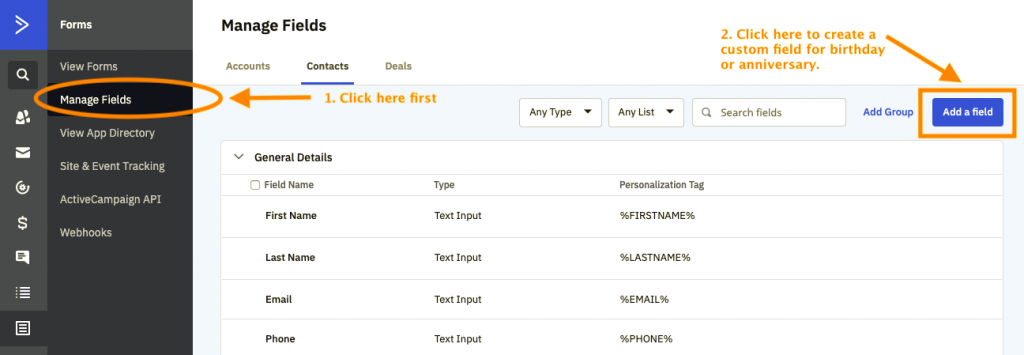
Second, click on ‘Manage Fields’ and then click on the blue ‘Add a field’ button at the top right.
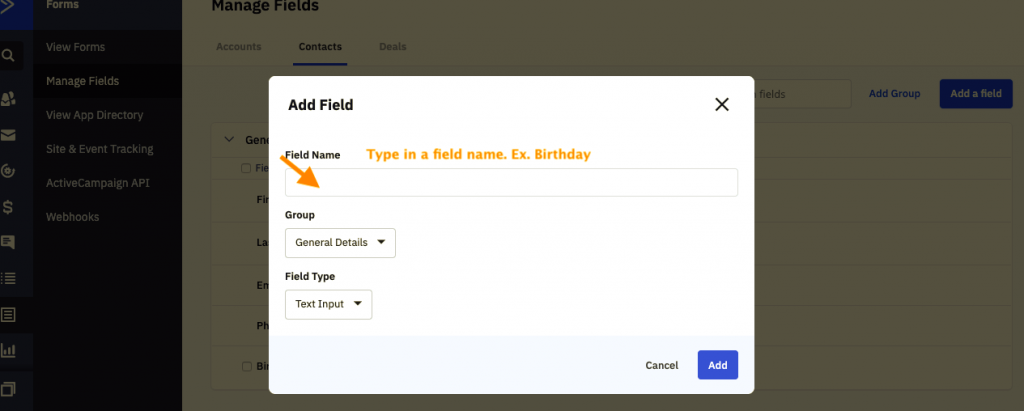
2) Pick a name for your custom field. Then, click the ‘Field Type’ dropdown menu to select select the ‘Date’ field type.
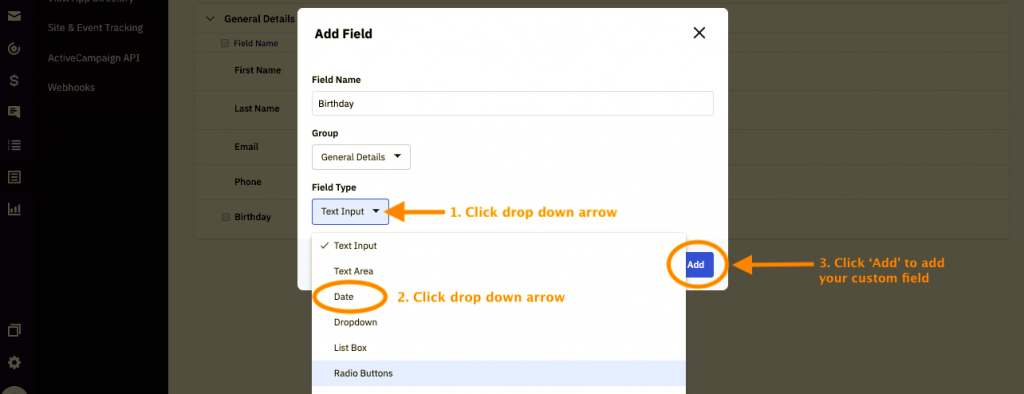 Click the blue ‘Add’ button to confirm adding your custom date field.
When you have your dates ready to add to your contacts or import in bulk, these videos show you the steps to take.
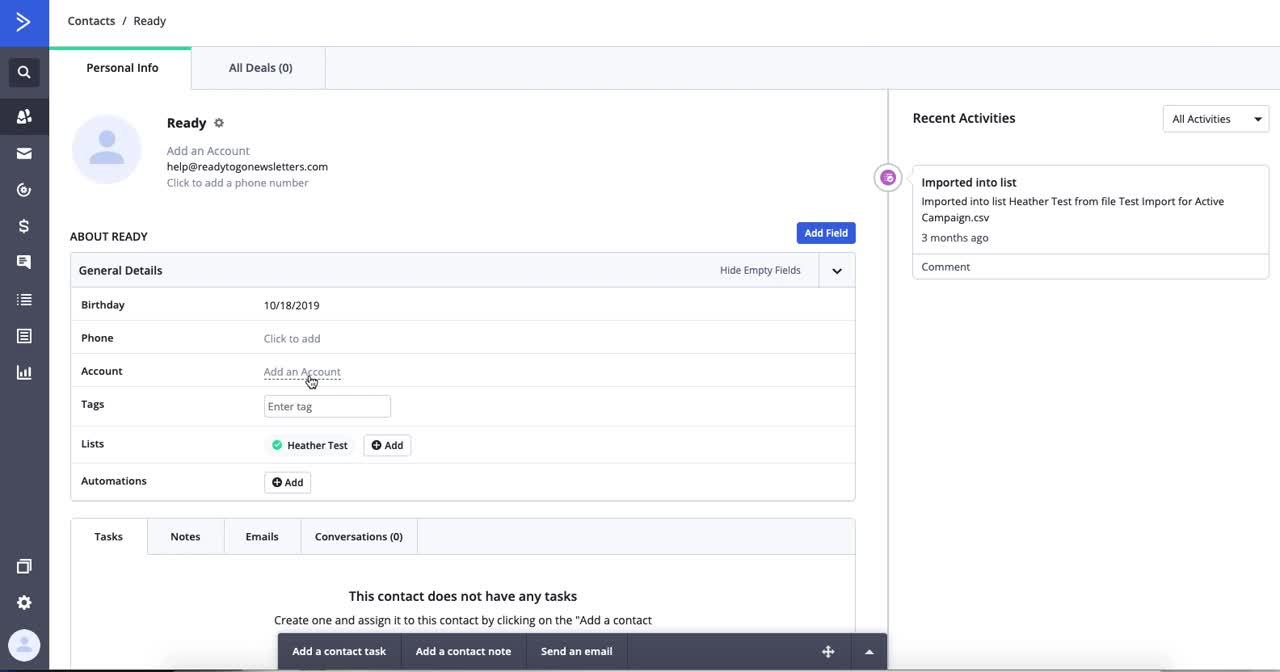
How to Add the Date for a Contact
Click the image below to watch the video (no sound).
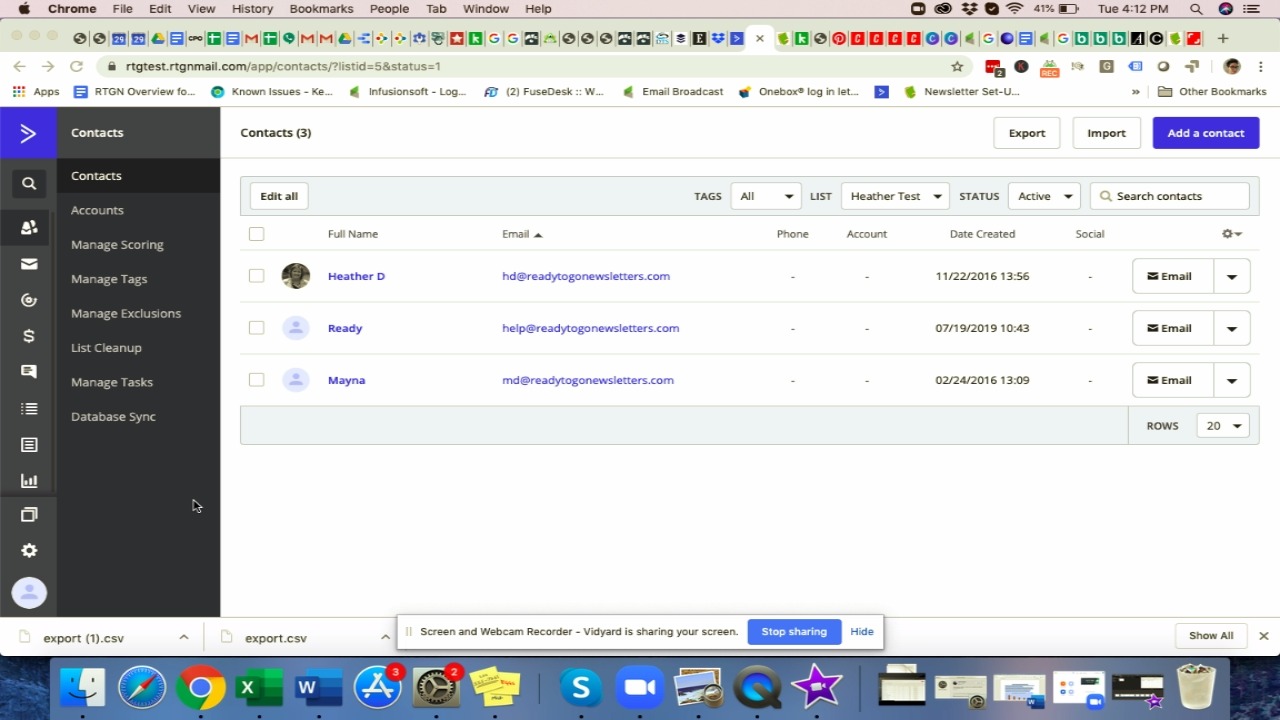
How to Add the Actual Date in Bulk
Click the image below to watch the video (no sound).
Setting Up a Birthday or Anniversary Campaign
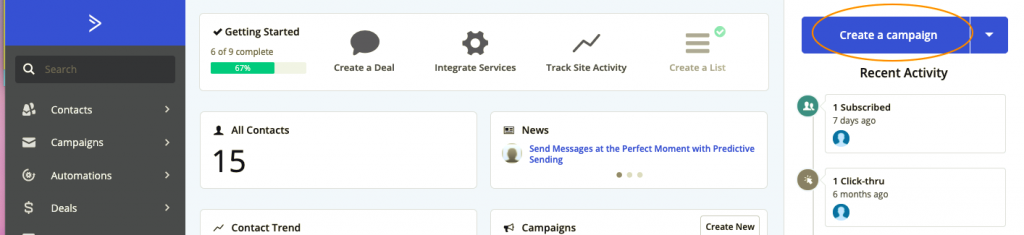
1) First, you’ll log into your ActiveCampaign account and from the main dashboard, click on the blue ‘Create a Campaign’ button on the top right.
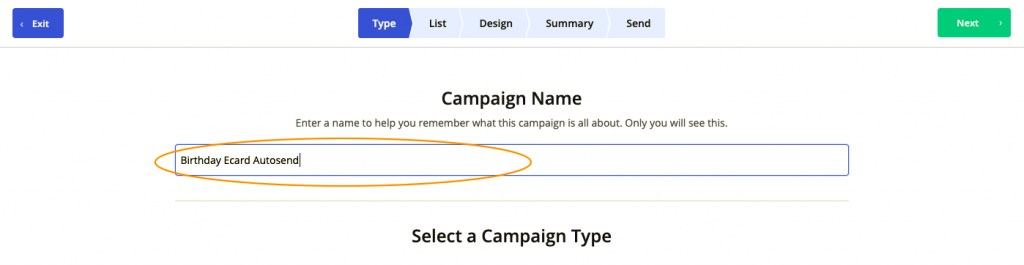
2) You’ll need to give this new campaign a name. In this example we’ve gone with ‘Birthday Ecard Autosend.’
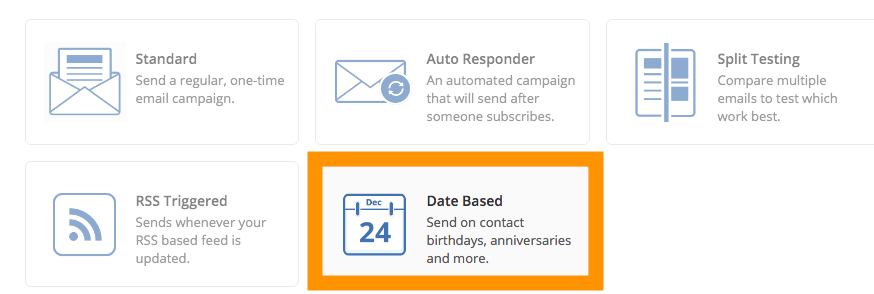
3) Next you’ll want to select the campaign type. This needs to be ‘Date Based‘ in order to work automatically.
4) Next you’ll pick the list to which you want this campaign to send. In most cases, you probably have just one main list. If you happen to have more than one list, you can pick more than one list from this menu option.
Check the box to the left of the list name to select that particular list.

5) Now it’s time to move on to the design part. You’ll need to build a new template. It will take you less than 5 minutes to do this. We’ve even included these birthday images below that you can use.
To download a birthday image below, right click on the image and select “Save image as”. This will download the image to your computer so that you can select it when you build your e-card template.


If you want more image options, check out the resources in this blog post: Free Stock Images That Don’t Suck.
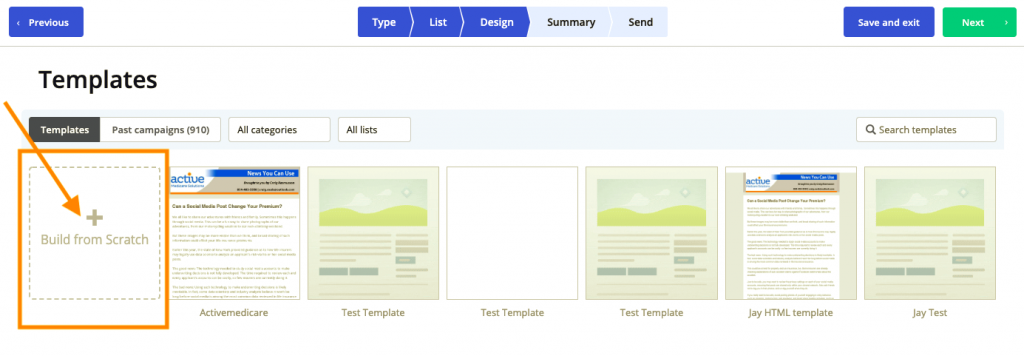
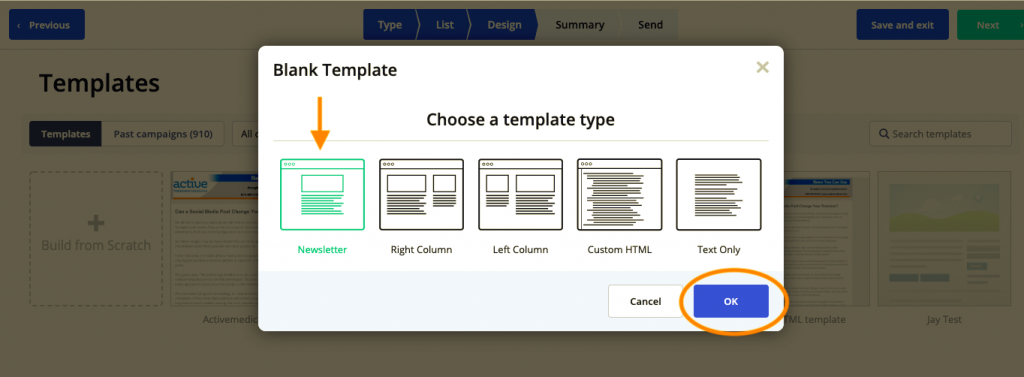
6) To create your e-card template, select the ‘Build from Scratch’ option. Then pick the one-column newsletter design – this is the easiest type of layout to design and edit.
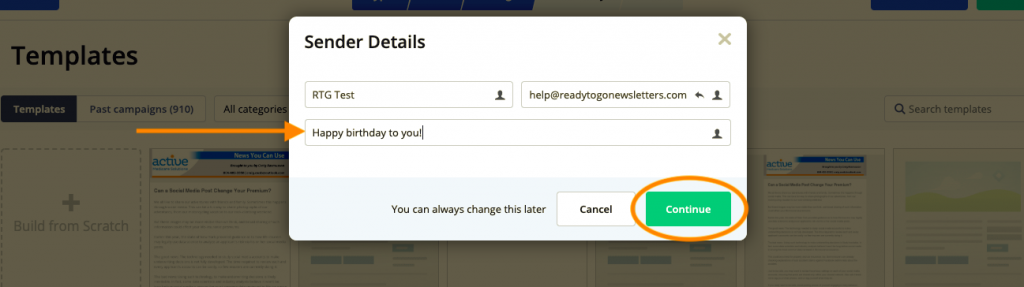
7) Now it’s time to choose your email subject line like ‘Happy Birthday from all of us at [Your Company Name Here]’ or ‘We heard it’s someone’s birthday!’ Then click the ‘Continue’ button.
8) This is where you design your simple e-card to send to all of your recipients that you have recorded birthdays for. Click on the existing image to change it to one of the options above or to upload your own image.
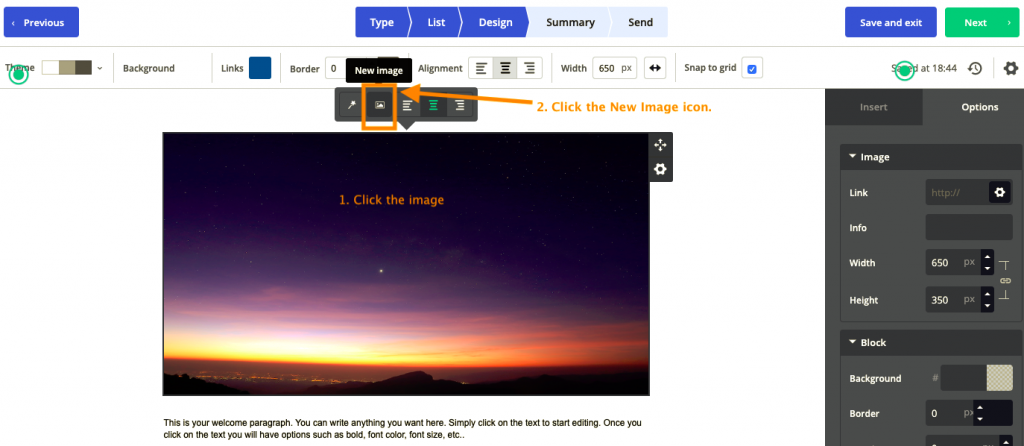
First, click the image. Second, click the ‘New Icon’ image that appears above.
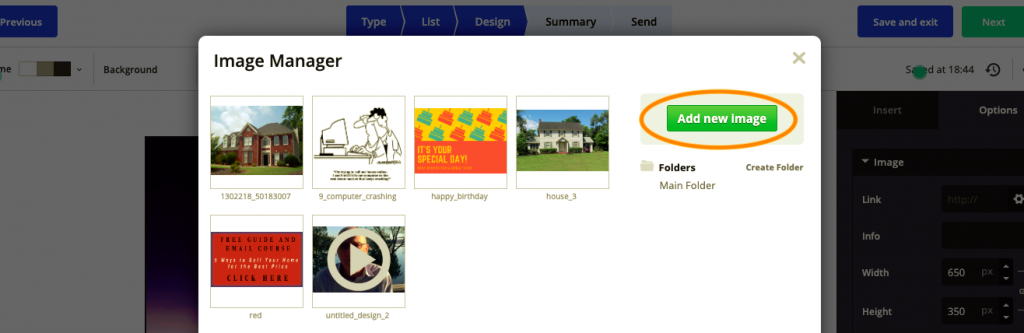
9) Next, you’ll need to select the image you want to use instead. Click the green ‘Add new image‘ button to pull an image from your computer. Once you select the image, you’ll be taken back to the editing screen where you’ll see the image you just selected.
10) Don’t forget to remove or change the text below the image in the email. You can write a longer message to your recipient or you can remove it altogether.
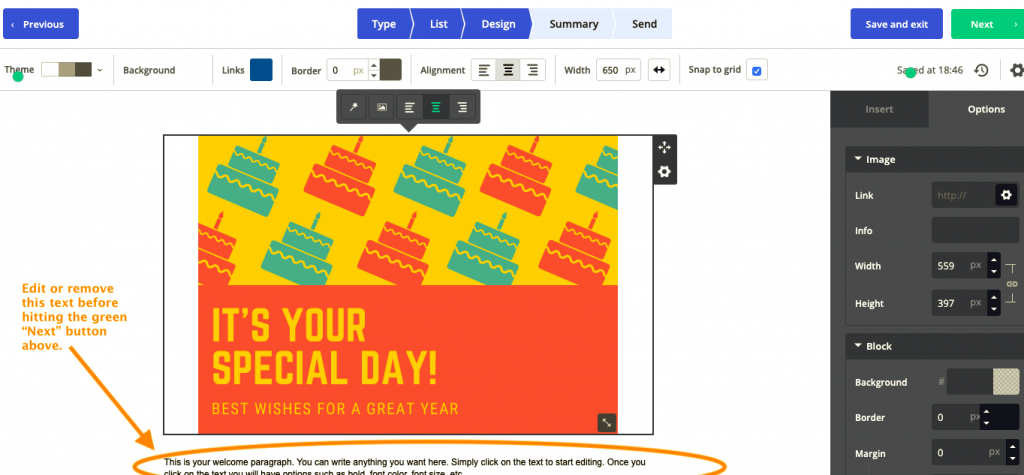
Click in the text area below the image to edit or remove the text.
Then, click the green ‘Next’ button at the top right.
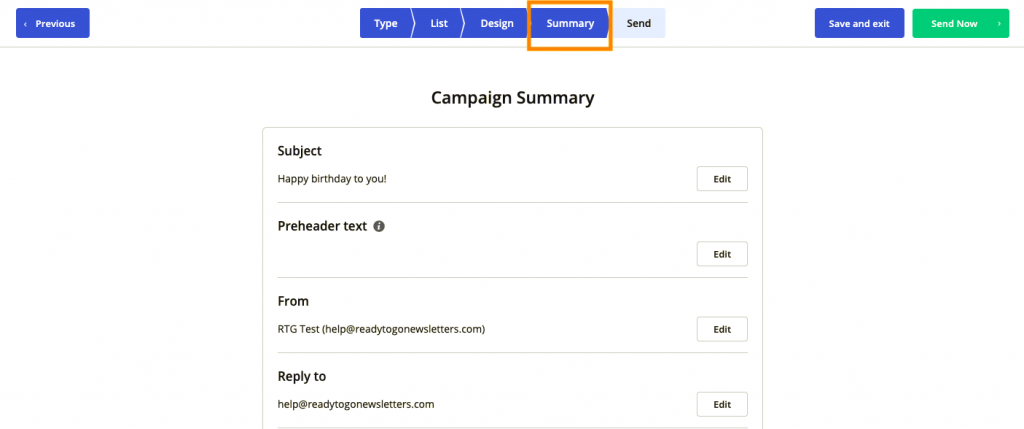
11) You’re just ONE FINAL STEP away from completing your birthday or anniversary campaign set up.
After you hit ‘Next‘ you’ll find yourself in the ‘Summary’ page. This is where you’ll select the custom field settings and pick the date and recurrence schedule. And, you’ll double check your from and reply-to email address, your subject, and so on. After this you’re done!
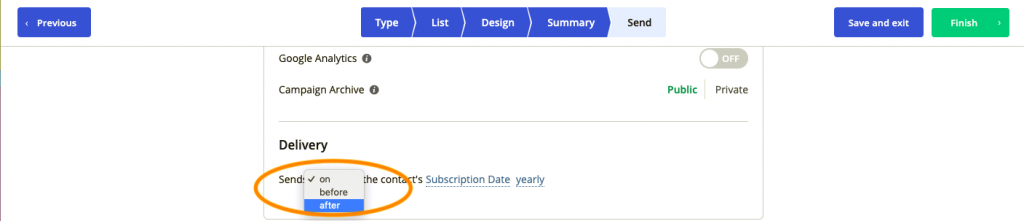
Scroll down to the Delivery section where it says ‘Send on the contact’s Subscription Date yearly‘.
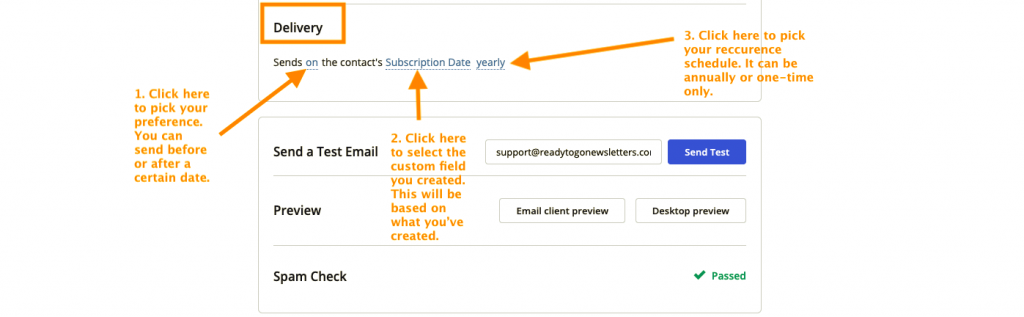
First, click on the blue ‘on‘ to pick if you want to send the e-card on the date, before the date or after the date. If you pick before or after, you can then decide how far ahead or after you want to send.
Second, click ‘Subscription Date‘ if you are sending a birthday or anniversary card. You will get to select the custom field you created earlier.
Third, click on ‘yearly‘ if you want the sending to occur just one time instead of annually.

Lastly, click on ‘Send Now‘ to save your campaign and get it going out.
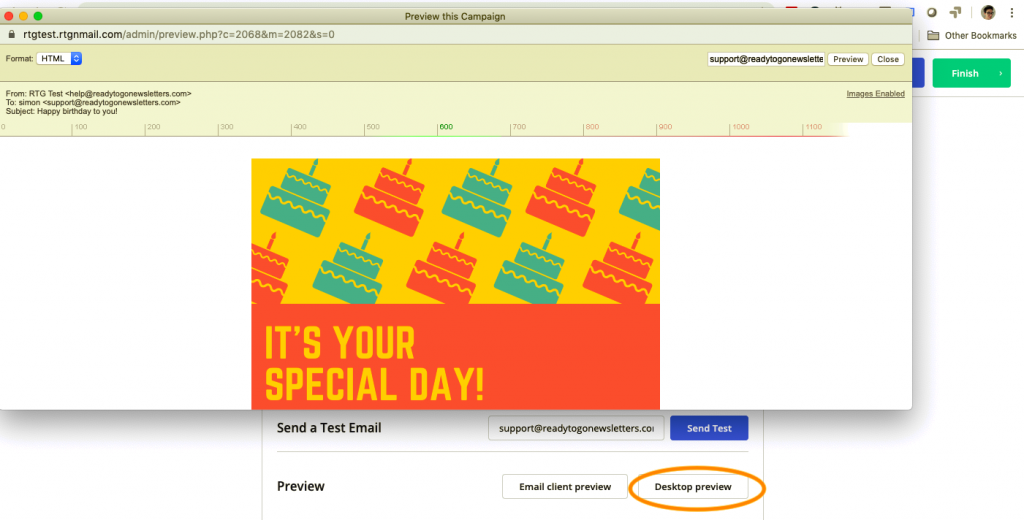
Pro Tip: If you’d like to see a preview of what your contact will receive for a final sanity check on the design, click on the ‘Desktop preview‘ button and a window will pop up with your design and subject line. Scroll down in the preview to see to the bottom of the ecard email design.
You’ll get this ‘Your campaign has been completed‘ screen when you’re done with setting up your e-card campaign.

Woohoo! You’ve done it.
Remember, if you’ve set up the recurring option to send yearly, you may want to update your e-card design once a year so you have a different email going out next year. We’re 95% sure your contact probably won’t remember if it is the same design as the prior year, but if you want to be proactive, you can add a task to your calendar 12 months from now (and make it a recurring event) to change the e-card image out.